Related Links
Integrate BackupAssist with IDrive® e2
BackupAssist provides backup and disaster recovery software solutions for Windows servers. Use BackupAssist with IDrive® e2 hot cloud storage to store data backups from physical and virtual Windows servers. Learn more about BackupAssist.
Prerequisites
Before uploading files using BackupAssist, you require:
- An active IDrive® e2 account. Sign up here if you do not have one.
- A bucket in IDrive® e2. See how to create a bucket.
- Valid Access Key ID and Secret Access Key. Learn how to create an access key.
- A valid BackupAssist license.
Set up BackupAssist and store your backup
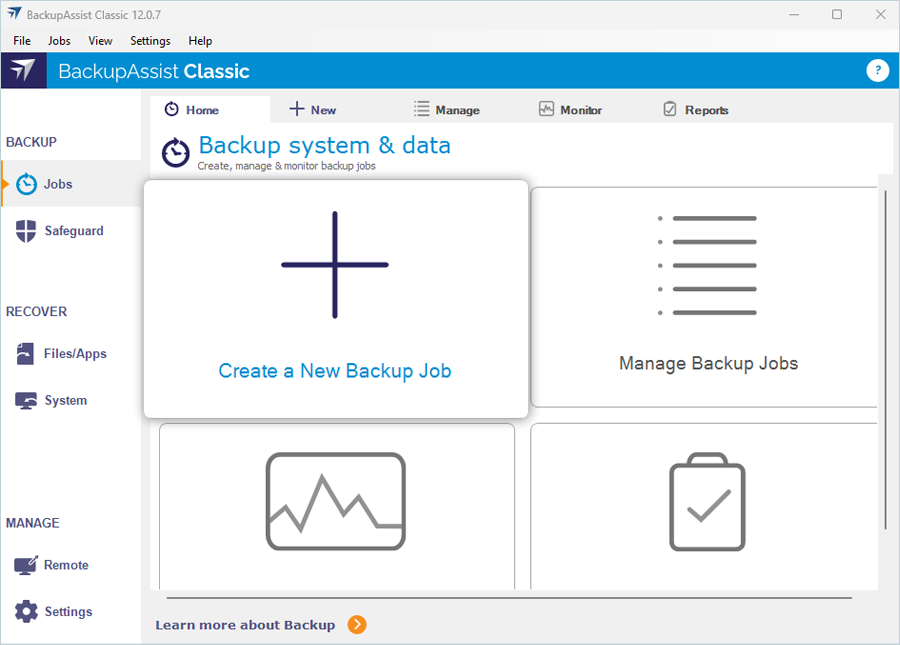
- Go to Jobs > Create a New Backup Job.
- Select files or folders to backup and click Next.
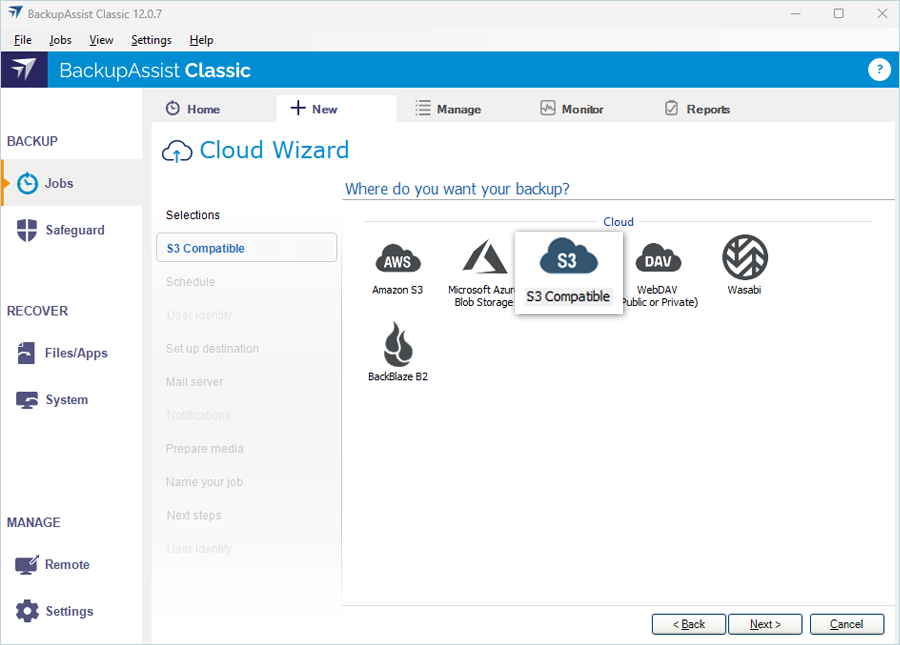
- Select S3 Compatible and click Next.
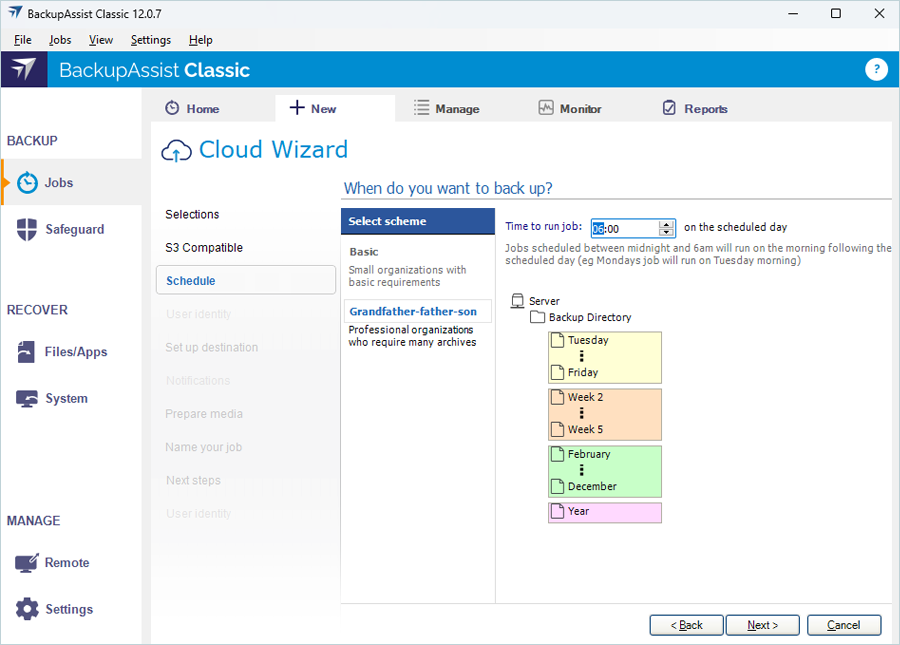
- Set the days and time to schedule a backup to run.
- Set up the destination by entering your IDrive® e2 bucket settings:
- Enter your IDrive® e2 bucket name.
- Enter your e2 storage endpoint as a Service URL.
- Enter your IDrive® e2 Access Key ID as the Access Key.
- Enter your IDrive® e2 Access Secret Key as the Secret Key.
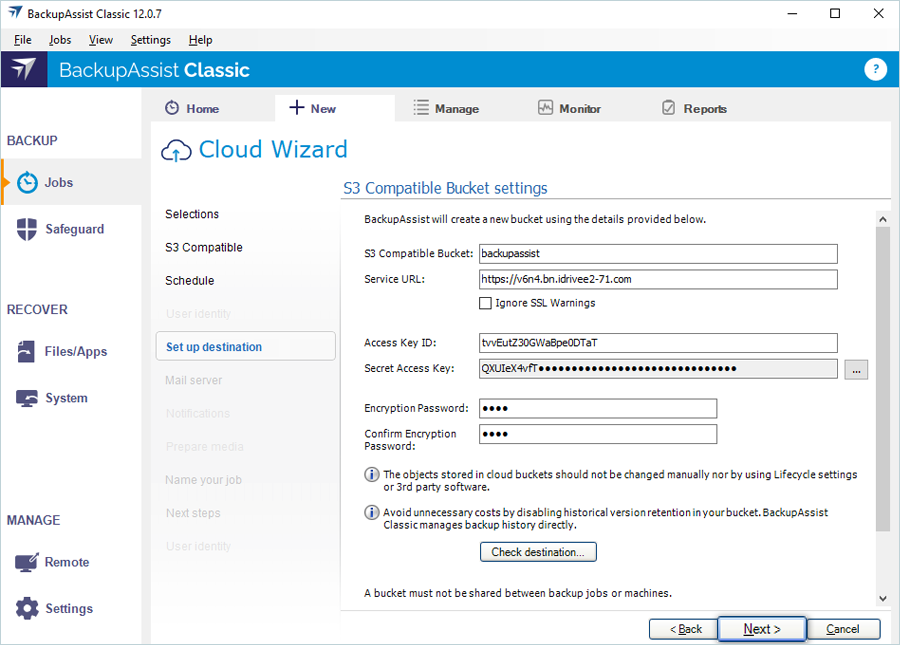
- Create an encryption password and confirm it.
- Click Next.
Note: Click Check Destination to verify if the bucket is connected to BackupAssist.
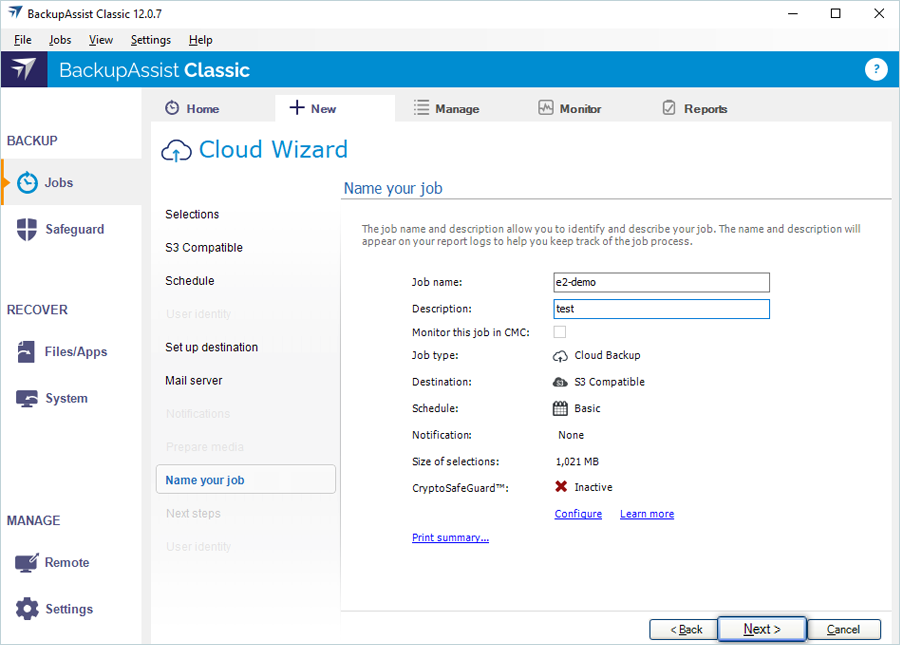
- Enter the backup job's Name and Description and click Next.
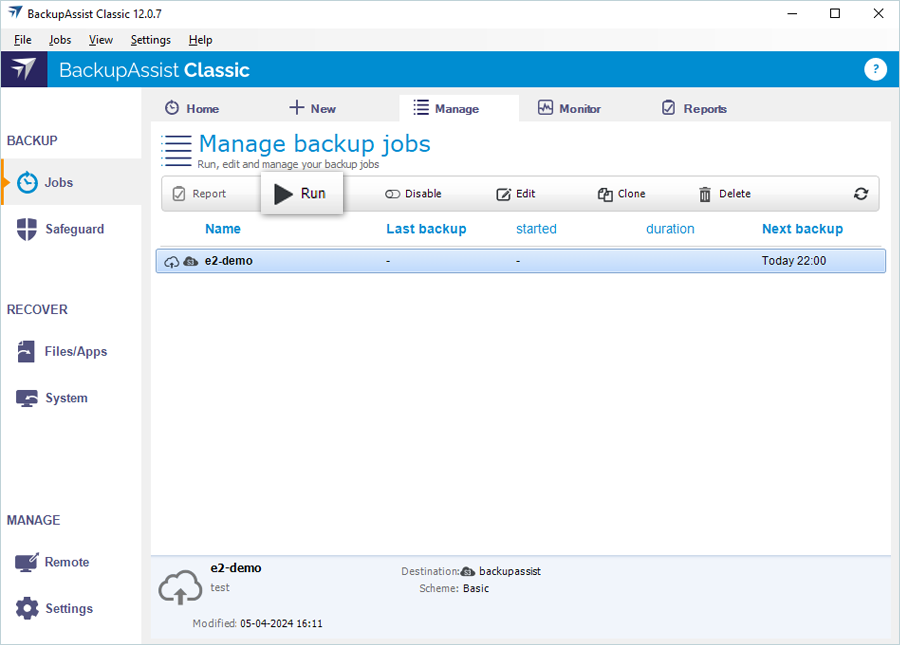
- Select the added job and click Run.
Note: You can create a schedule for the added job to run future backups.
Note: Data restoration is handled by your specific backup solution provider and is affected by multiple variables that are unique to your environment. For application-related enquiries/support, it is strongly recommended you seek guidance from the technical team of your backup solution provider.