Related Links
Integrate IDrive® e2 with cPanel Backup
cPanel is a reliable and user-friendly platform for managing servers and websites.
Backup your websites and servers using IDrive® e2 with cPanel for reliable and secure additional storage options. Learn more about cPanel Backup.
Prerequisites
Before uploading files using cPanel Backup, you require:
- An active IDrive® e2 account. Sign up here if you do not have one.
- A bucket in IDrive® e2. See how to create a bucket.
- A valid Access Key ID and Secret Access Key. Learn how to create an access key.
- A valid cPanel Backup account.
Configure IDrive® e2 with cPanel Backup
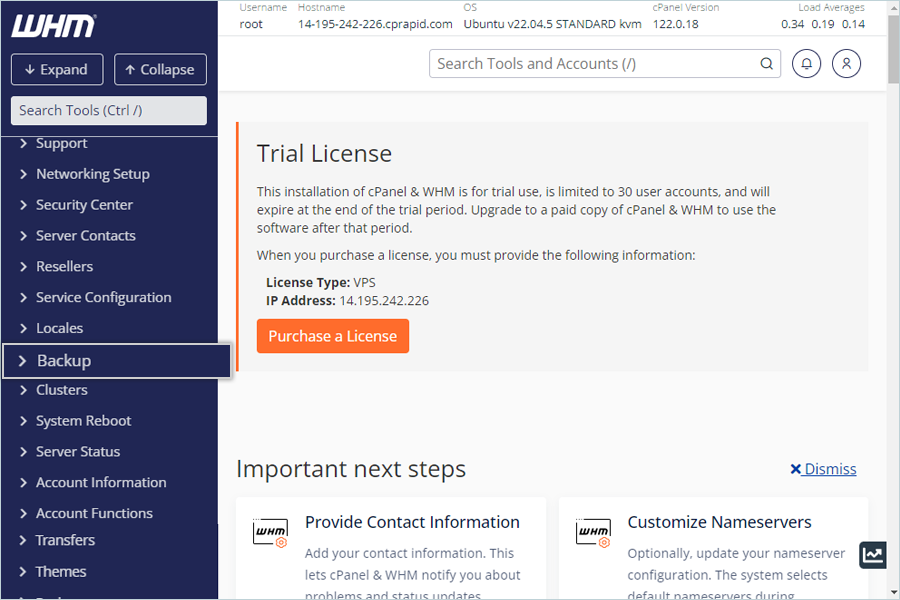
- Login to cPanel server.
- Click Backup to open backup options from the side menu.
- Select Backup Configuration from the sidebar menu.
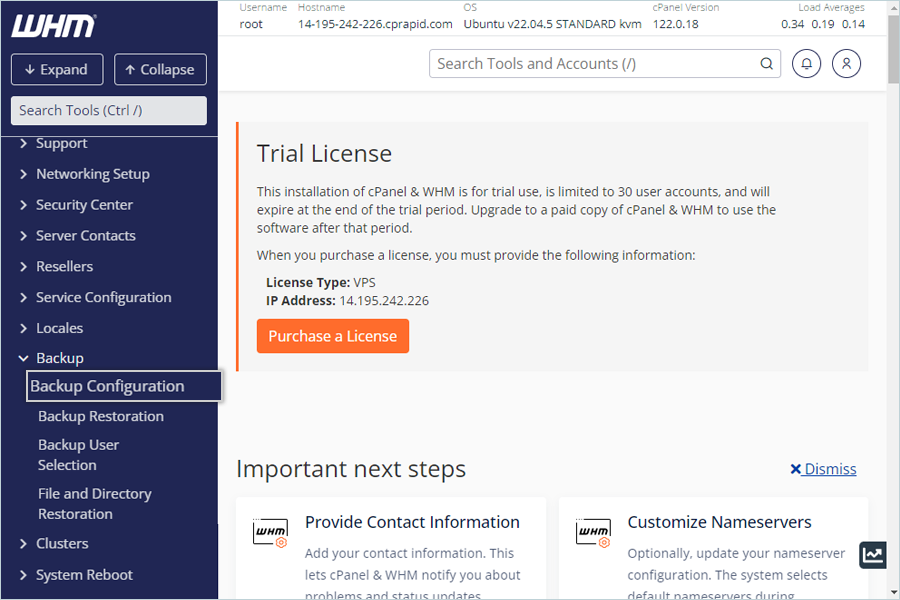
- Navigate to Additional Destinations.
- Select S3 Compatible as Destination Type from the drop-down menu.
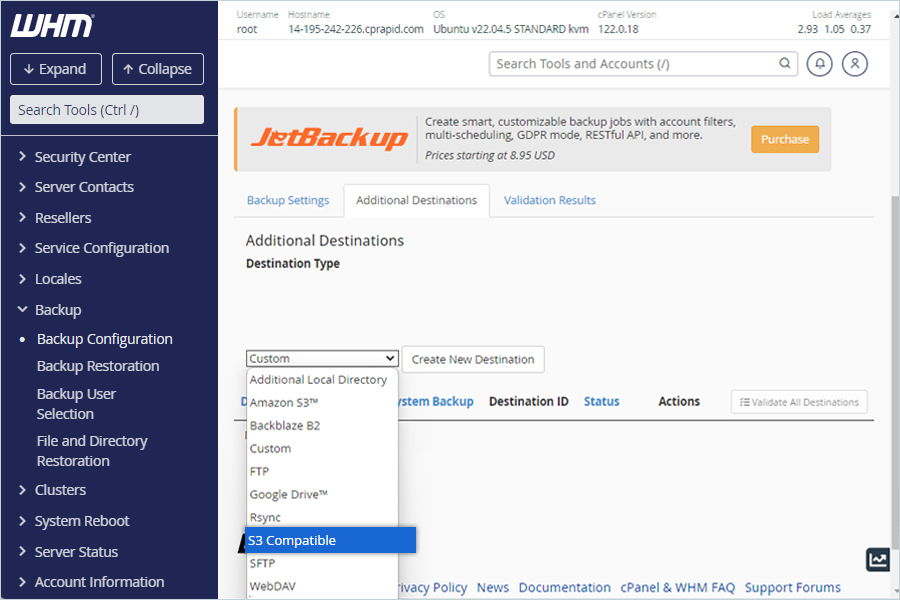
- Click Create New Destination.
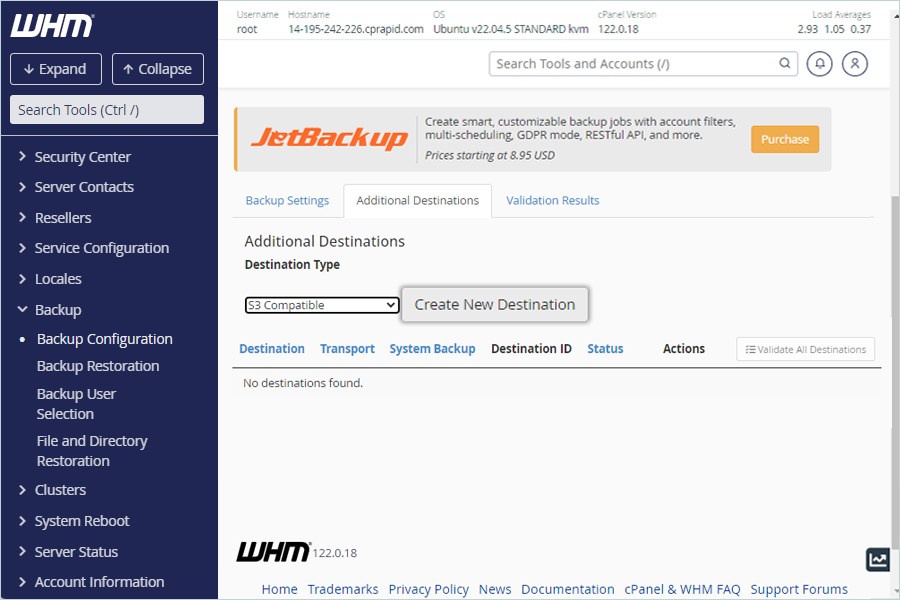
- Select S3 Compatible as Destination Type from the drop-down menu.
- In the S3 Compatible Destination (New Destination) window.
- Enter a name for the destination as Destination Name.
- Select the source for backup as required.
- Enter the name of the folder to be created in the destination.
- Enter the IDrive® e2 endpoint as the S3 endpoint.
- Enter the IDrive® e2 bucket name as Bucket.
Note: Encryption should be disabled for this bucket. Learn how to enable/disable encryption for buckets. - Enter the IDrive® e2 access key as Access Key ID.
- Enter the IDrive® e2 secret access key as Secret Access Key.
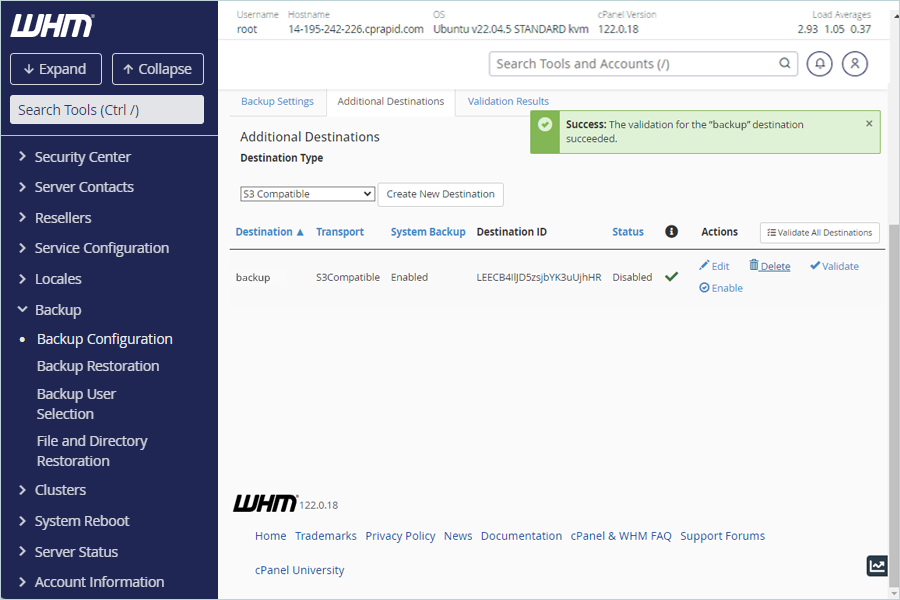
- Click Save and Validate Destination.
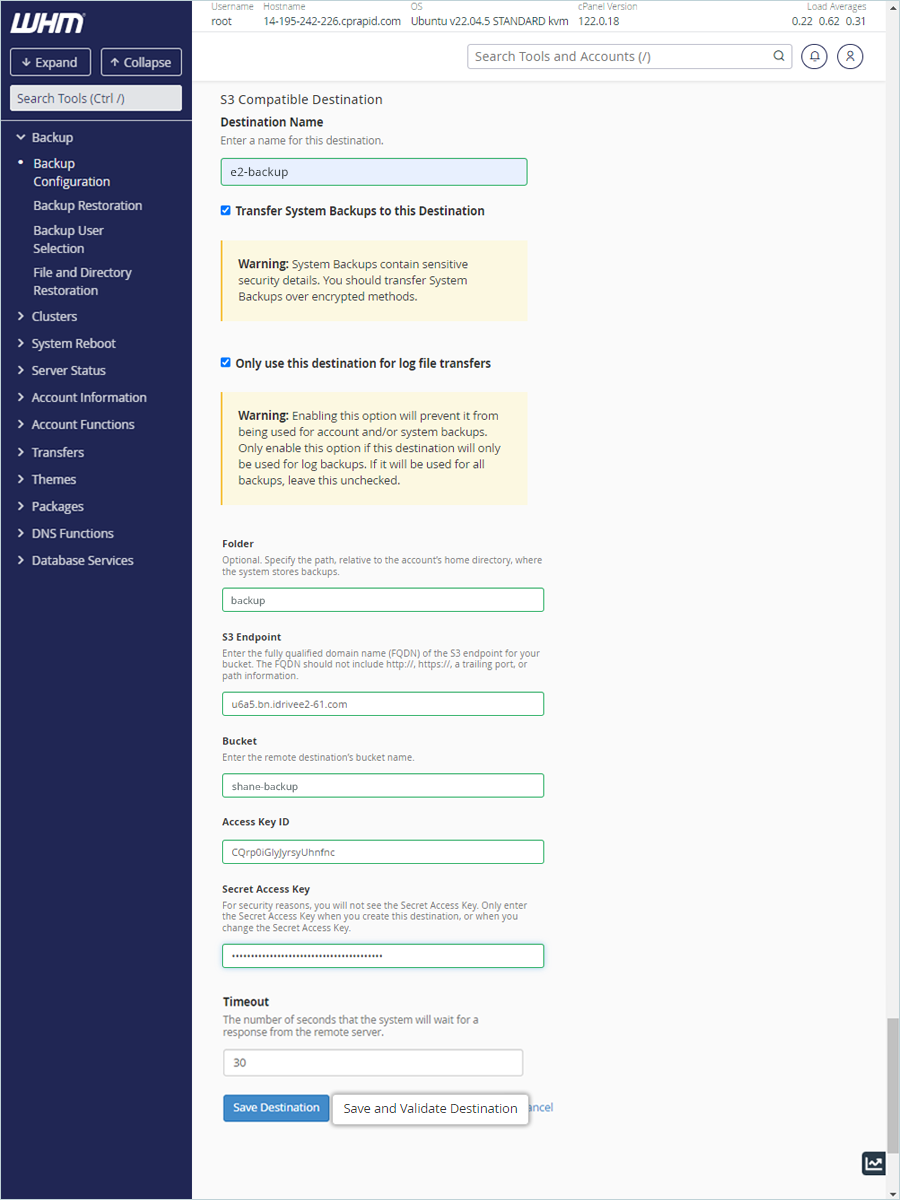
Result: The destination will be added after validation.
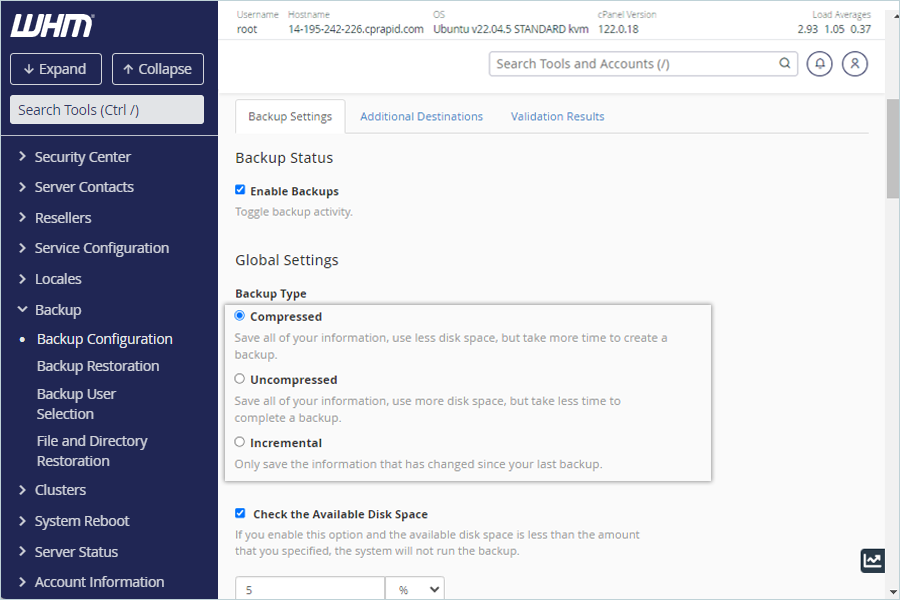
Set up your Backup Settings
- Click Backup Settings.
- Configure the required options for your backup.
- Set a backup schedule based on the requirement.
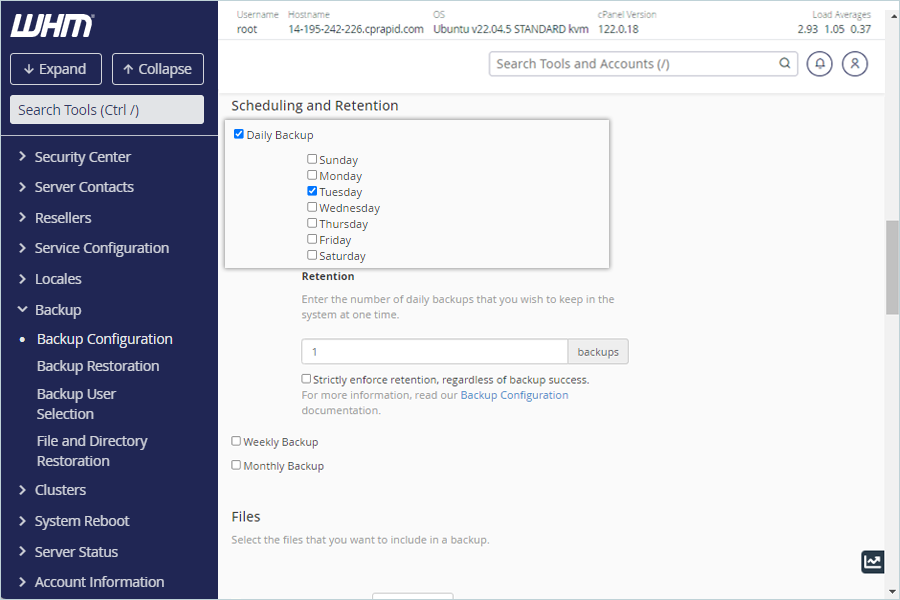
- Select the files you want to include in the backup.

- Click Save Configuration.
Result: Backups will run according to the schedule, and you can access the backed-up files/objects in your IDrive® e2 bucket.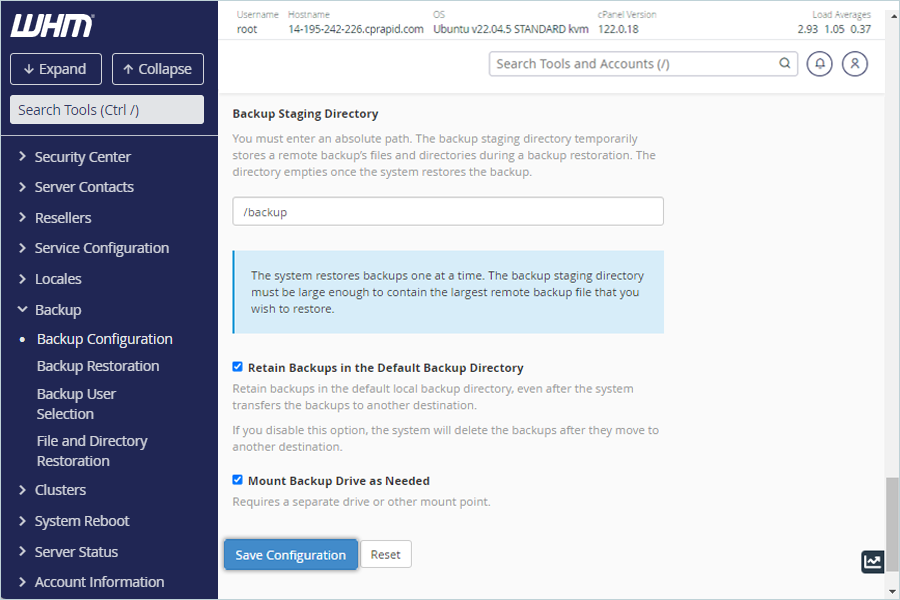
Note: Data restoration is handled by your specific backup solution provider and is affected by multiple variables that are unique to your environment. For application-related enquiries/support, it is strongly recommended you seek guidance from the technical team of your backup solution provider.